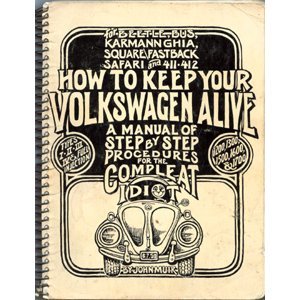
 So I've ordered all these parts....their sitting in cardboard boxes, on shelves, and on the workbench. I just keep tempering myself and reviewing the parts, reading the Muir Bible..."How to Keep Your VW Alive Forever, a Manual of Step by Step Procedures for the Compleat Idiot". Let me have a pondering pause here for a moment.
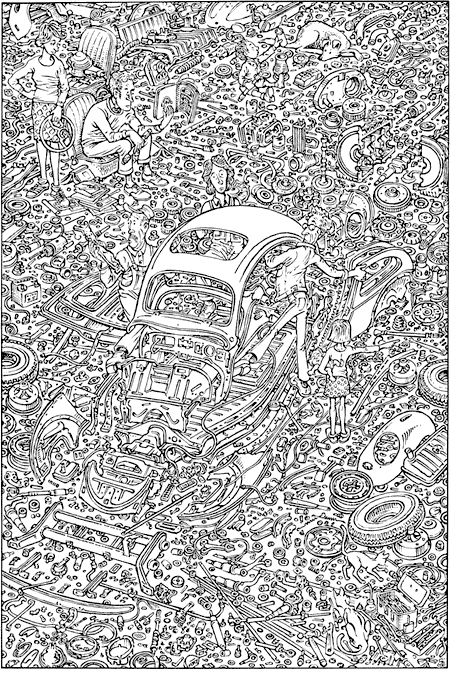
This guy was a VW genius......but he also looked like he was a couple of miles from the Kool-Aid compound. The artist that did the pictures in this book are phenomemonal too! Jon and I were working and talking about this book and both of us are just SO impressed with the detail and accuracy?! I mean this pictures has ALL the parts of a stinkin' Beetle.....I SWEAR?!! Look for yourself.

God Bless you John Muir.......
So I've got all the parts polished and cleaned off. I used this Purple Power stuff that worked TEN TIMES better than a standard engine cleaner. Careful recommendation though: Use gloves because I swear I turned my hands into 80 grit sandpaper. Truth be told :) I put all the cylinders and pistons into the dishwasher to get all the grease, gunk and dirt out. Second recommendation: make sure you run dishwasher again empty to get all the crud out that is leftover from the first run! I headed over to Hicks VW and find all the screws and nuts that I need for the engine. He helped me out.......after begrudgingly letting me know that he didn't "have time to mess around with no F#&$'N 36" HP engine. I promised I would buy the roof rack just so he would keep helping me!
The first step was to hone the cylinders and use a valve seating compound to get the cylinders to seat right into the cylinder heads.


So now the cylinders are ready, we have to use a ring compressor to get the cylinders over the pistons and rings. Of course the one I bought doesn't work. But what worked great was a 3-1/2" Hose Clamp from the hardware store for $3.00! Once the cylinders went on things really started to come together. We used assembling grease, anti-seize grease and 30 weight oil for most of the parts.
I also had been storing the push rods somewhere safe so that they wouldn't get bent. I've been watching them everytime I open my cabinet to get the measuring tapes. I had to take this picture because I was so happy to take them down and finally put them back into their home :) So I continue getting all the other parts, gaskets, slowly added to the block. I ran into a few glitches because the engine was missing a few parts here and there. The rocker arm assemblies were missing the stud cradles that you screw the nut to keep it in place. The fuel pump camshaft was missing too. Not a big deal, but I had to order the parts from Wolfsberg West.


Now I came to a few revelations by accident. Jon and I were looking at the generator pulley noticing that it wasn't lining up correctly with the crankshaft pulley. We farted around with it trying to get it to fit correctly. Then I looked over in the parts pile and saw a brass pulley that Steve had given me. It looked like it would fit and so it did! I look on the pulley and it says "12V". So then I look around on the engine and the coil shows 12V, etc, etc. So now I'm convinced it's been updated to a 12V and with an alternator. That's good news, I suppose.
![]()
So I get everything assembled and finish with getting the exhaust system including brand new J-Tubes. The engine studs and intake studs were a bit tricky but I was able to get them settled with either new studs or the existing studs. The next challenge was the distributor. After much research, trips to Hicks VW, and calls to Wolfsberg West, I discover that I have the correct "019" distributor but I have the incorrect cap. Someone had modified a smaller cap to make it work. This gave me a good chance to clean out the distributor, change the points, and replace the condenser. I hadn't realized how much attention it really needed. I also took that opportunity to clean the air cleaner, carburetor, and the fuel pump.

1 comment:
Yep, that's a pretty good summary of a long day spent in the garage. (including a few silly mistakes).
For instance, the engine tin not fittingclearance due to being underneath the engine block bolt. (Which St. Muir explained and we obviously skipped over.)
It really is amazing how quickly, in a sense, it came together. From a box of parts, to a complete engine in one day, more or less.
You're going to be rewarded with years of happy driving.
Post a Comment